Linggo, Agosto 4, 2013

Restoration file #3: Old Stool to Coffee Table

      I have an old stool with rusted legs. I want to repair and convert it to a coffee table instead, to make it more useful. I hope this next project will give moms new ideas on how to re-use their old furniture.
Step 1: Before you begin, always check for any broken parts. Clean the surface with a rag. While you are doing this, you can think of new ideas on how to convert your old stuff.

Step 2: Unscrew the wooden seat. Since our plan is to make this into a coffee table, we have to cut the metal legs shorter.
Get a measuring stick or tape and get the desired length of the legs that you want.

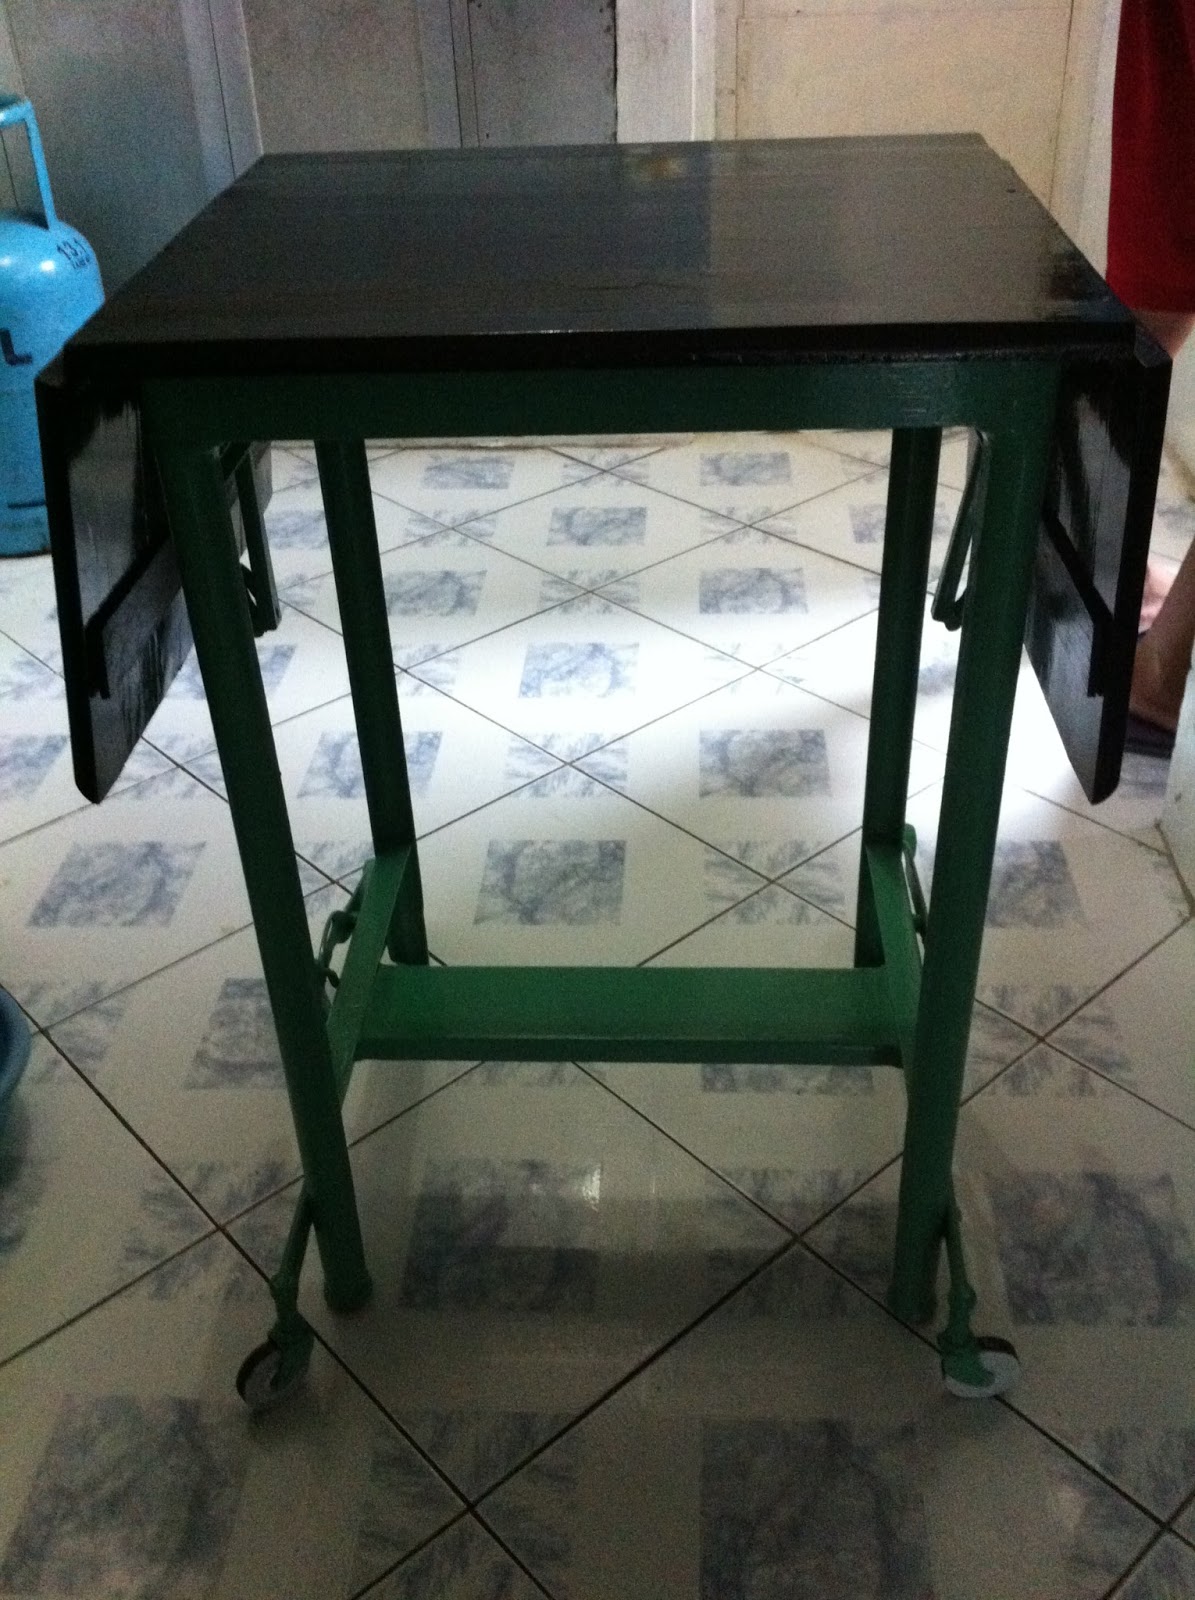
Step 3: Since the lower legs are already rusted we had to cut them using a METAL SAW. You can easily buy this from any hardware store. Measure the frame from the base and mark the desired length. Mark the parts that you are going to cut with a marker.

Step 4: Apply METAL PAINT PRIMER to the frame. The primer will protect the frame from rust. Make a second application for better coating. Let it dry.  Sand the frame to make the surface smooth.


Step 5: Choose the final color that you like for the project. For this, we are using BLACK ENAMEL PAINT.
Put a little PAINT THINNER to the ENAMEL for easier and better coating. Let it dry then apply a second  coating.


Step 6: Get an old table top or board and re-paint it. The design is up to you.


 Step 7: For this chess/checkers board, we used a masking tape to divide the parts.
Paint the squares alternately.


This is now our finished product. From an old stool to a nice coffee table.

Biyernes, Hulyo 26, 2013

Restoration file #2: Joining 2 metals without welding

     It's easy to join wood, plastic, rubber and cloth together. You only need a glue or a needle and a thread, but what about if you join a metal leg of a chair without welding. Here's an easy way.
Our wooden stool looks OK from afar. 

But, if you look closer, one leg needs repair. We need to join it back together to is frame for better support. I am a housewife and I do not have any experience on welding things. Here's my solution: 

Step 1: Buy Galvanized Wire. Choose the thinnest so that, you can easily wrap it around the metal leg.
I used (2) 50 centimeter wires to join the leg to the frame. Use PLIERS to tighten the wires.
Step 2: Apply PAINT PRIMER to the joint. Let it dry for an hour then apply a second coating.
 
Step 3: Paint the joint using an ENAMEL that will match your chair or tables original legs.

Miyerkules, Hulyo 24, 2013

Restoration file #1: Antique Typewriter Table

     For our first project, we restored an antique piece of furniture. This typewriter table is about 65 years old. It was soaked under mud and flood water 3 years ago. We cleaned it but, we decided to restore and repair it. This is a step by step guide.  

Step 1: Wipe the surface with a clean piece of cloth or rag.
Remove the wooden top using a screw driver. 
Step 2:  Then use a PAINT STRIPPER to remove the paint from the metal frame. Be sure to use rubber gloves when using the paint stripper. Do the same with the wooden top.

Step 3: Apply the paint stripper several times to remove all the paint. You can use a steel brush or metal scraper. This took at least a day to remove all the paint from the metal frame. After removing most of the paint.
Use SAND PAPER with 120 grit.

Step 4: Apply PAINT PRIMER to the metal frame.
The primer will protect the metal from rust.

Step 5: Apply a second coating of the PAINT PRIMER if needed.

Step 6: Use ENAMEL PAINT. Choose the color that you like. You may use a PAINT THINNER to make the application easier, smoother and quicker to dry. In this case we painted the frame green because we will use it in the kitchen.

Step 7: Apply a PAINT STRIPPER. Use a sand paper to remove excess paint then use a primer for the wood. For this project, we sanded the wood 2-3 times after the paint has dried. We did this to get a thicker and more even coating.
 
Step 8: Add the piano hinges on each side. 
 
Step 9: Assemble the pieces together. It will be easier if you flipped the metal framed onto the wood to screw it back into place.


Step 10: Screw the lever on each side.

This is now how it looks like. For moms, it'll take some time for you to finish a project but, it's all worth it.
 

This was a typewriter table before. We restored and repaired it and made it into something new.